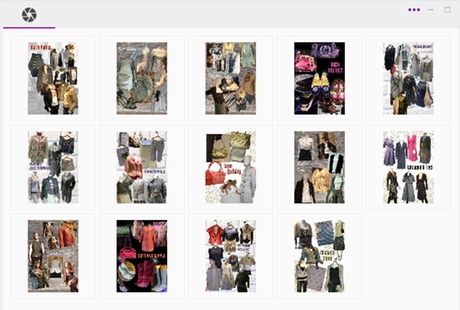
Optimize your working processes by creating a lightbox. A lightbox can be understood as a collection of images. Via drag & drop images can be added to a lightbox in order to transfer images to other documents. By creating a lightbox, editors have the possibility to allocate images to certain categories. For subsequent use, images in a lightbox are even faster to find and it will be easier to add images to other documents.
Creating Lightboxes
There are multiple ways to create a new lightbox or to add images to it. This is the most common way:
- Open the lightbox view.
- Create a new lightbox by clicking on the button New lightbox
from the
dots-menu.
- A window in order to name the new generated lightbox will open. Enter a name and press OK to confirm it.
- Thereupon, the newly created lightbox will be opened. Now, you can drag & drop images from the search view or the component structure into the lightbox. The images appear in the same order in which you added them to your lightbox.
- The images available in the lightbox now can be used in different spots. Therefore, open the desired document and paste the pictures from the lightbox using drag and drop.
When you close it, none of the lightboxes will be lost and neither will their content. In the top left corner of the lightbox view, you can select which lightbox is be displayed.
Adding Images to a Lightbox
You can add images to a new lightbox when creating new image documents. Please refer to the documentation about image documents.
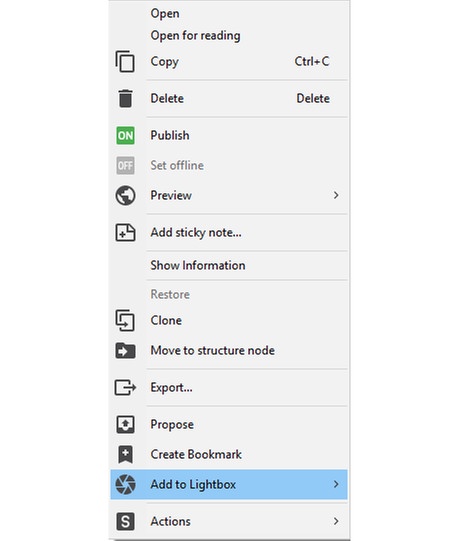
Moreover, you can add images to an already existing lightbox via their context menu or with the button in the image document's editor toolbar.
Renaming Lightboxes
You have the option to rename an already existing lightbox.
- Open the lightbox view.
- Open the lightbox you'd like to rename via the menu in the top left corner.
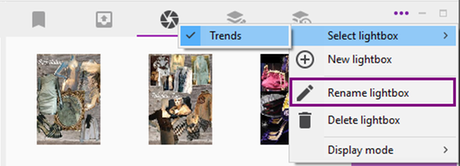
- Select Rename lightbox from the
More Actions-menu.
- A dialog for renaming the lightbox will emerge. Enter a new name and press OK to confirm it.
Removing Images from a Lightbox
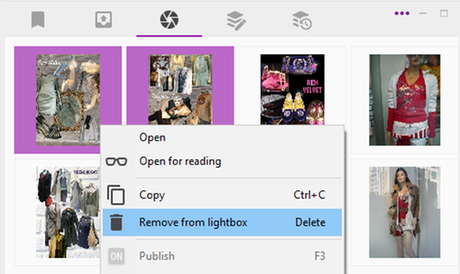
- Open the lightbox which contains images you want to remove.
- Select the desired quantity of images to delete.
- Right-click on one of them and select Remove from lightbox.
Moving Images to Another Lightbox
- Open the lightbox you want to remove images from.
- Select the images which are meant to be relocated.
- Open the context menu, select Add to Lightbox and there, select the lightbox to which you want to move these images.
- Afterwards, open the context menu again and select Remove from Lightbox.
Changing the Thumbnail Size
Administrators can change the displayed image size depending on the server settings.
If the server contains a larger displayed image size, you can change between default display and a larger one in the menu.
Deleting Lightboxes
A lightbox still exists after closing the lightbox view. Therefore, it is necessary to use the provided menu entry for permanently deleting a lightbox.
- Open the lightbox which is meant to be deleted.
- Click on the button Delete lightbox in the
dots-menu.
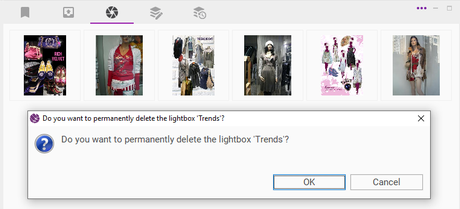
- A window with the request for deleting the lightbox will be opened.
- Confirm the permanent deletion of the lightbox with OK.
