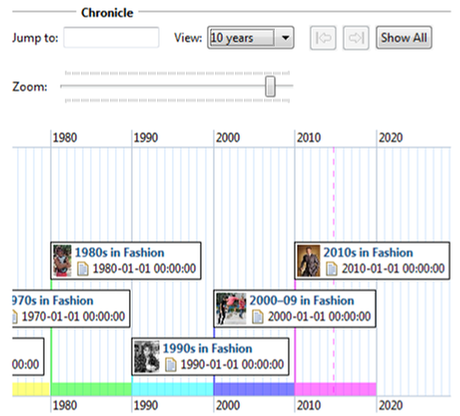
The chronicle add-on enables editors to arrange articles, images and other documents as single events in a timeline. Created events will be shown in a well-structured and chronological sequence.
Creating a Chronicle Document
- Select the icon "New", listed in the menu bar.
- Choose "Chronicle".
- A window to select location and Id stem will be opened. Add a name for the Id stem and confirm your entry with "Finish".
- The chronicle document has been created.
Note: In order to delete a chronicle document you have to click on the dots menu ("more actions") and then at "delete document".
For more details view "Creating and Editing documents".
Adding an Event
- Open or search for a document you want to add to the timeline.
- Drag and drop the document onto chronicle. The drop marker shows the date and time where the event will be added.
- Click on the event. By pressing the left mouse button, while moving the mouse pointer in the required direction, you can define date or time for the event.
Editing an Event
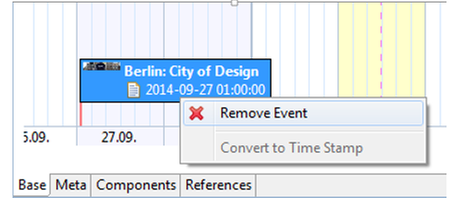
In order to change the event’s date, use the drag & drop function. At the bottom of the chronicle document you can see the dates of the events. An event can be either a time stamp or a duration.
Converting time stamp into duration
- Open the chronicle document which is meant to be edited.
- To convert a time stamp event into a duration event, hold the Ctrl key.
- Click on the event.
- Drag the event while holding the left mouse button. This way you can modify the end date (at any time).

